
Have you ever taken a photo that looked okay but needed a little something extra? Maybe the colors were dull, the lighting was wrong, or the details weren’t clear. Don’t worry! With a few easy steps, you can make any photo look amazing. Photo enhancement is like giving your picture a quick polish to make it shine.
This guide shows you how to edit photos like a professional in a simple way. Whether it’s a family picture, a vacation shot, or a social media post, you can make it stand out. Let’s get started!
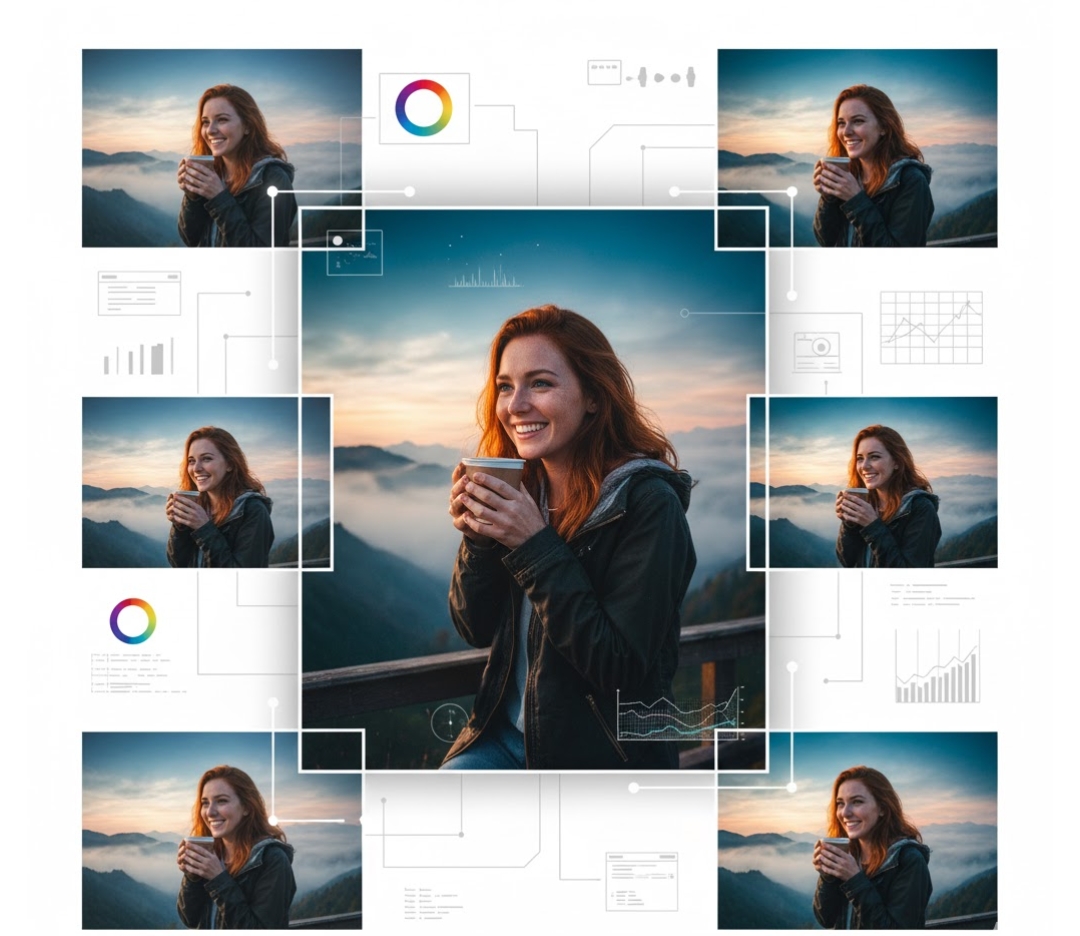
Start with the Right Software
The first step to making your photos look great is picking the right editing tool. Think of it like choosing the best brush for painting a picture. There are many tools out there, from apps for beginners to advanced programs for experts.
Free tools are perfect if you’re just starting out. Paid ones give you more options for detailed edits. Look for software that lets you adjust brightness, change colors, or add filters. Some tools even use AI to suggest edits, which makes things faster and easier.
For example, Adobe Express free online photo quality enhancer in just minutes is a great choice for quick, high-quality results. Choose a tool that fits your skills and budget. Once you have it, you’re ready to make your photos pop!
Adjust Brightness and Contrast
Brightness and contrast are the foundation of photo editing. They’re like adding the right amount of light and shadow to make your picture come alive.
Brightness controls how light or dark your photo is. Turn it up to make the image bright and happy, or lower it for a cozy, moody vibe. Contrast makes the difference between light and dark areas stand out, giving your photo more depth.
If your picture looks flat, try increasing contrast a little. It can make the image feel more exciting. But be careful—too much contrast can hide important details, like faces or textures. Small tweaks here can make your photo look clean and professional.
Fine-Tune the Colors
Colors can change how a photo feels. They’re like the background music in a movie, setting the mood. Warm colors, like reds and yellows, feel cozy. Cool colors, like blues, feel calm and peaceful.
You can adjust saturation to make colors bolder or softer. Too much saturation makes photos look fake, while too little can make them dull. You can also tweak hues to fix issues, like when indoor lights make a photo too yellow or orange.
For portraits, pay extra attention to skin tones. You want people to look natural, not too pale or overly tanned. Most editing tools have easy sliders to make these changes. For example, if your beach photo looks washed out, boost the saturation to make the water and sky vibrant. Good color balance keeps your photo lively but real.
Sharpen the Details
Sharpness makes a photo go from average to amazing. It’s like putting on glasses to see every detail clearly. Sharpening tools bring out edges and textures, like the strands of hair in a portrait or the leaves in a landscape.
Use sharpening carefully to avoid a rough or grainy look. A little sharpness can make eyes in a portrait sparkle or make a mountain in a photo stand out. Too much sharpening, though, can make the image look harsh. The goal is a crisp, natural photo that’s easy on the eyes.
Use Filters and Presets Carefully
Filters and presets are like shortcuts to add style to your photos. Different filters can give your picture a vintage look, a movie-like feel, or a bright, sunny vibe. Presets are pre-made edits that save time and help your photos look consistent, which is great for things like Instagram posts.
Don’t go overboard with filters—they can hide the natural beauty of your photo. Instead, use them lightly and adjust their strength to keep things balanced. For example, a soft filter can make a wedding photo feel romantic without covering up the moment. Choose filters that enhance your photo’s story, not take it over.
Correct Imperfections
Every photo has small flaws, but editing can fix them. It’s like tidying up a room to make it look its best.
You can use tools to remove tiny issues, like dust on the camera lens, stray hairs, or small skin blemishes. Cropping helps get rid of distractions, like a random object at the edge of the frame. For portraits, smoothing tools can soften skin but still keep it looking real. In landscapes, you can remove things like power lines or signs to make the scene cleaner.
Use these tools carefully to keep your photo authentic. A little cleanup goes a long way to making your image look polished and professional.
Play with Light and Shadows
Light and shadows add emotion and depth to your photos. They’re like the lighting in a theater, setting the stage for your image.
Highlights control the brightest parts of your photo. Lower them to soften harsh sunlight or bring out details in bright areas, like a white dress. Shadows affect the darker parts. Deepen them for a dramatic look or lighten them to show hidden details, like in a forest scene.
For example, in a portrait, adjusting highlights can make sure faces aren’t too bright. In a sunset photo, deepening shadows can make the colors pop. Play with these settings to create the mood you want, whether it’s cheerful or mysterious.
Enhance with Modern Tools
Editing photos used to be hard, but today’s tools make it simple. AI-powered features are like having a smart assistant who suggests the best edits for your photo. These tools can fix colors, sharpen details, or even remove backgrounds automatically.
Online platforms are great for both beginners and pros. They’re fast and easy to use, with features that give professional results without the hassle. These tools help you avoid common mistakes, like over-editing, and save time.
Combining AI suggestions with your own tweaks gives you the best of both worlds: speed and creativity. It’s like having a pro editor guide you while you add your personal touch.
Save and Export Properly
After editing, you need to save your photo the right way to keep it looking great. It’s like packaging a gift—you want it to arrive in perfect shape.
Choose the right file type for your needs. JPEG is best for sharing online, like on social media, because it’s small and loads fast. PNG is better for high-quality prints or images with transparent backgrounds. Resolution is important too—use high resolution (like 300 DPI) for prints and lower (72 DPI) for screens.
Always keep a copy of the original photo before editing,ទ
System:
you want to start over. Name files clearly, like “VacationPhoto_Edited.jpg,” to stay organized. Match your export settings to how you’ll use the photo—online or printed.
Enhancing a Picture Like an Expert
Editing photos like a pro takes creativity, precision, and the right tools. Each step—adjusting brightness, tuning colors, sharpening details, and fixing flaws—builds a stunning image.
Filters, small tweaks, and AI tools make the process faster and better. Saving your work correctly ensures it looks great everywhere, from phones to prints.
With these steps, anyone can turn a simple photo into something special. Practice these tips, and you’ll soon create photos that grab attention and tell a story. Whether it’s a selfie or a sunset, you can make it shine.
Check out our blog for more tips and tricks to keep improving your skills!
Disclaimer: This article is for informational purposes only and is not professional advice. The content is based on general knowledge and should not be used as a substitute for expert guidance. The author and publisher are not liable for any issues, including but not limited to copyright, plagiarism, or other legal concerns related to Google or other platforms. Ensure you have the right to edit and share photos, and consult a professional for specific needs.